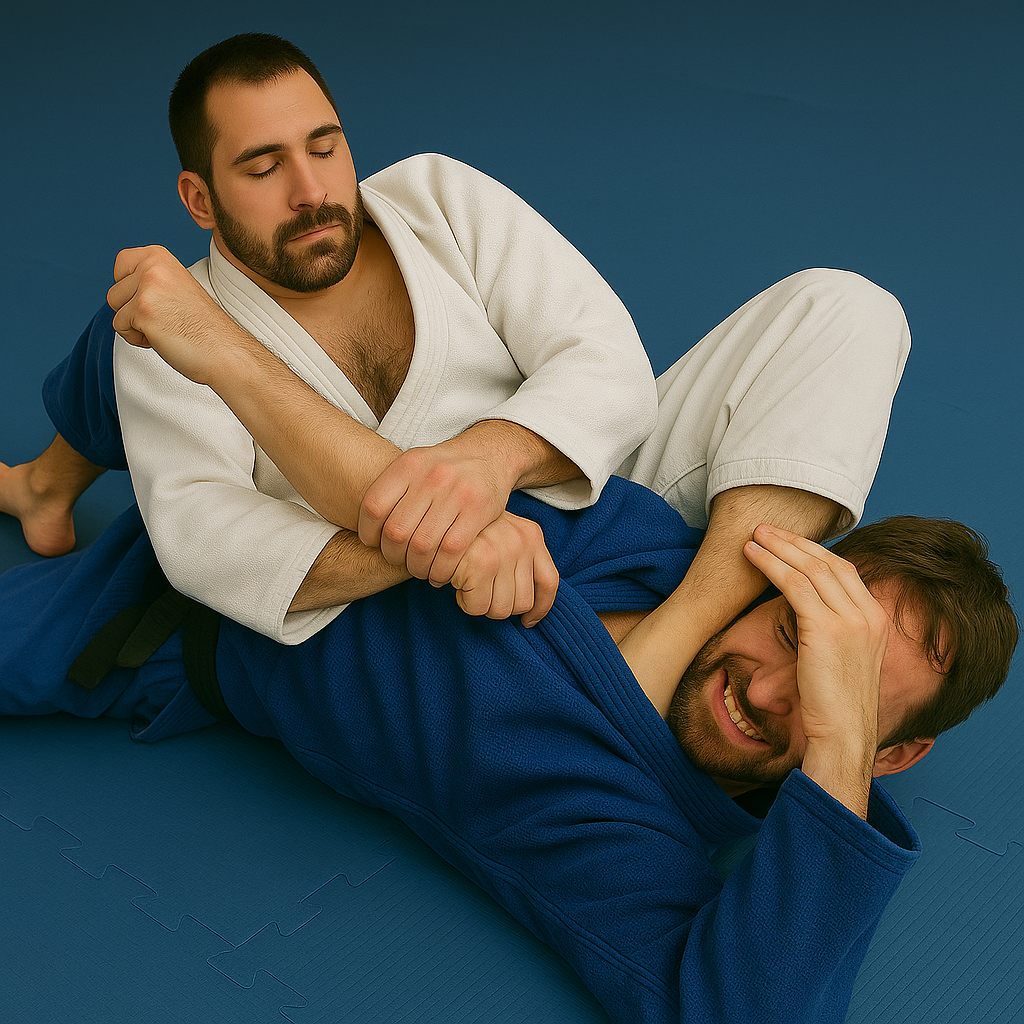
AI Generated Armbar
armbar
fundamentals
bjj
Jiu-Jitsu • By
creator-test
This is how an AI Generates an Armbar.
AI Generated Armbar
How to Perform an Armbar from Closed Guard
The armbar from closed guard is one of the most iconic submissions in Brazilian Jiu-Jitsu. This guide breaks down the setup, execution, and finishing mechanics, along with tips to avoid common pitfalls.
Prerequisites
- Basic BJJ Knowledge: Familiarity with closed guard posture and grips.
- Partner Safety: Always practice with a trained partner and under supervision.
- Controlled Environment: Use mats to prevent injury during practice.
Step-by-Step Instructions
1. Establish Closed Guard
- Position: Lie on your back with your opponent (the "top player") in your closed guard. Your legs are wrapped around their waist, ankles crossed behind their back, and knees pinched together.
- Posture Control: Break the top player’s posture by pulling their head down with both hands behind their neck or grabbing their collar. This prevents them from standing or attacking effectively.
- Grip Setup: Secure a two-on-one grip on one of their arms (e.g., right arm). Hold their wrist with your same-side hand (right hand) and their elbow with your opposite hand (left hand).
2. Create an Angle
- Hip Movement: Shift your hips to the side of the arm you’re attacking (e.g., swing your hips to your left to attack their right arm). This creates a 45- to 90-degree angle, making it easier to isolate the arm.
- Leg Adjustment: Open your guard briefly to facilitate hip movement, then re-close it or transition to a high guard (legs higher on their torso) to maintain control.
- Head Control: Use your free hand (left hand) to pull their head or shoulder toward you, keeping their posture broken and limiting their ability to pull their arm back.
3. Isolate the Arm
- Arm Positioning: Pull the targeted arm (their right arm) across your centerline toward your opposite shoulder (left shoulder). Their elbow should be near your chest or neck.
- Leg Over Shoulder: Open your guard and swing your right leg over their shoulder, placing your calf across their face or neck. Your knee should point toward their head, and your foot should be near their shoulder blade.
- Pinch and Trap: Pinch your knees together to trap their arm and shoulder, preventing them from pulling their arm out. Your left leg remains around their waist or transitions to their back.
4. Swing to the Armbar Position
- Leg Swing: Swing your left leg over their head in a pendulum-like motion, aiming to place your shin across their chest or neck. Your legs should now form a “V” shape, with their arm trapped between them.
- Hip Elevation: Lift your hips off the ground to create leverage and control their arm. Your body should be perpendicular to theirs, with their arm extended between your legs.
- Arm Control: Maintain a firm grip on their wrist, pulling it toward your chest. Their thumb should point upward (toward the sky) to align the elbow joint correctly for the lock.
5. Finish the Armbar
- Leg Positioning: Ensure your right leg is tight across their face or neck, and your left leg is pressing down on their chest or torso. Both knees are pinched together to prevent their escape.
- Hip Thrust: Bridge your hips upward, driving their elbow joint past its natural range of motion. Keep their wrist pinned to your chest to maximize leverage.
- Controlled Pressure: Apply steady, controlled pressure to hyperextend the elbow. If practicing, stop as soon as your partner taps or signals discomfort.
- Thumb Orientation: Ensure their thumb points upward throughout the finish to target the elbow joint effectively.
Common Mistakes to Avoid
- Poor Angle: Failing to create a 45- to 90-degree angle can allow the opponent to pull their arm out or stack you.
- Loose Legs: Not pinching your knees together can let the opponent escape by pulling their arm or standing up.
- Incorrect Arm Positioning: If their thumb isn’t pointing upward, the elbow may not be properly aligned, reducing the submission’s effectiveness.
- Rushing the Finish: Applying the armbar too quickly without securing control can lead to sloppy technique or escapes like the “hitchhiker” (where the opponent rolls out).
- Neglecting Posture Control: Allowing the opponent to maintain upright posture makes it harder to set up the armbar.
Safety Tips
- Controlled Application: Apply the submission slowly during practice to avoid injuring your partner’s elbow.
- Tap Early: If you’re on the receiving end, tap as soon as you feel the elbow joint being stressed.
- Supervised Practice: Train under the guidance of a qualified instructor, especially when learning submissions.
- Warm-Up: Stretch your hips, hamstrings, and shoulders to improve flexibility and reduce injury risk.
Advanced Tips
- Setups and Baits: Use feints like threatening a triangle choke or sweep to provoke the opponent into extending their arm.
- Transitions: If the armbar fails, transition to other submissions like the triangle choke or omoplata from the same setup.
- Grip Variations: Experiment with different grips (e.g., cupping the elbow or using a sleeve grip) to adapt to your opponent’s reactions.
- Defending Escapes: Be ready to counter common defenses like the stack or hitchhiker escape by adjusting your leg pressure or transitioning to a belly-down armbar.
Practice Drill
- Solo Drill: Practice the hip swing and leg placement on a dummy or heavy bag, focusing on smooth transitions and proper leg positioning.
- Partner Drill: With a partner, perform the armbar setup slowly, stopping at each step to ensure correct positioning. Alternate roles to understand both offense and defense.
Flow Rolling: Incorporate the armbar into light sparring, focusing on setups and transitions rather than forcing the submission.